Art workshops are available by appointment, walk-in customers please call to confirm availability
(604) 496-1416.
Art workshops are available by appointment, walk-in customers please call to confirm availability
(604) 496-1416.
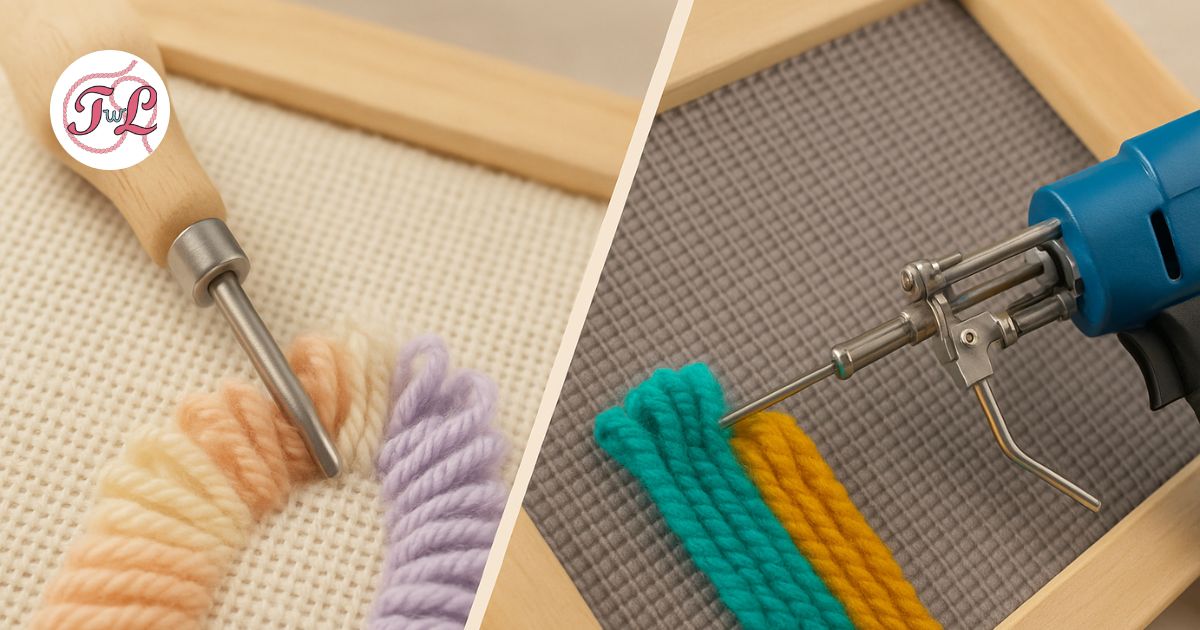
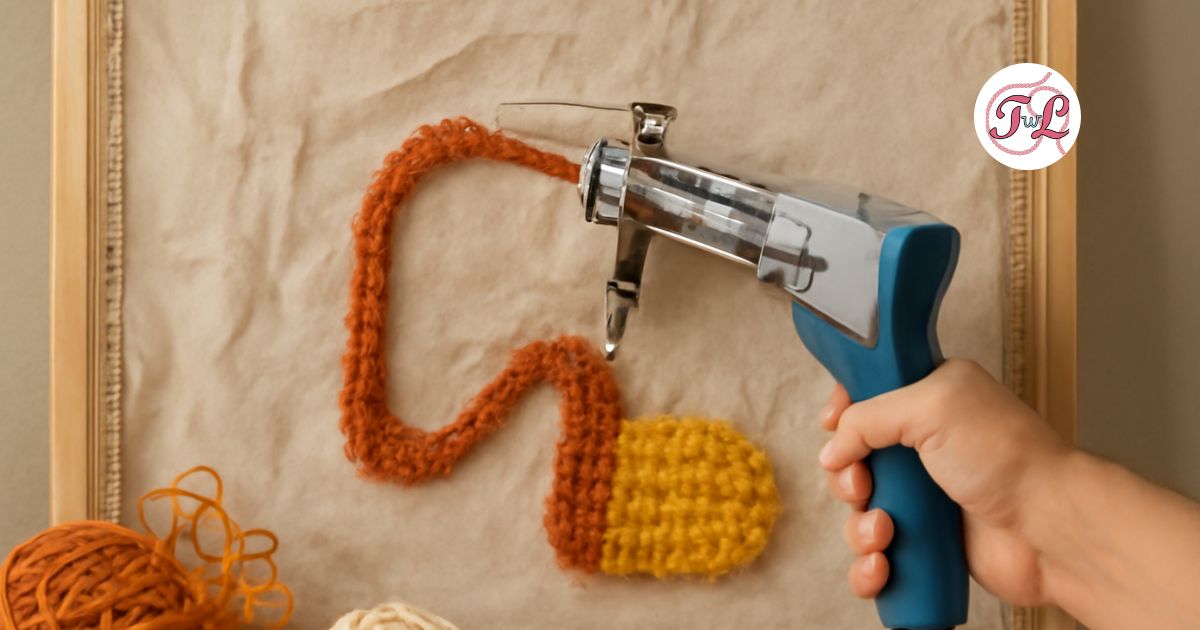
Setting up your tufting cloth correctly is a crucial step in the tufting process. A well-stretched and securely attached tufting cloth ensures smooth operation and professional results. In this post, we’ll walk you through the best practices for attaching and stretching your tufting cloth to the frame.
Why Proper Stretching Matters
Stretching your tufting cloth properly provides a taut and even surface, which helps:
Prevent the fabric from sagging during tufting.
Ensure the yarn stays securely in place.
Avoid uneven tension, which can lead to distorted designs.
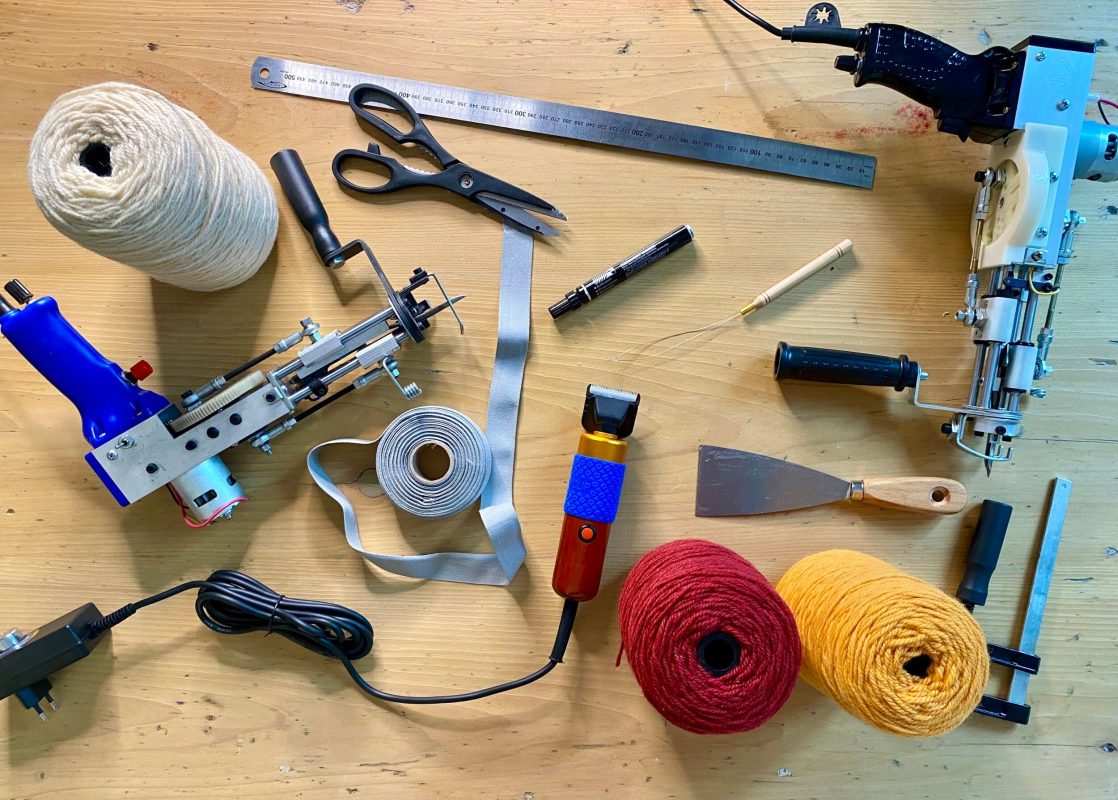
Prepare Your Frame Start by ensuring your tufting frame is sturdy and free from any debris. A clean and solid frame will make the process easier and more effective.
Cut the Tufting Cloth Measure and cut your tufting cloth so it’s slightly larger than the frame. Leave enough excess fabric to wrap around the edges of the frame for secure attachment.
Attach the Cloth to One Side Begin by attaching the tufting cloth to one side of the frame. Use a staple gun or carpet tacks to secure the cloth, starting from the center and working your way outward. Ensure the cloth is evenly aligned with the frame.
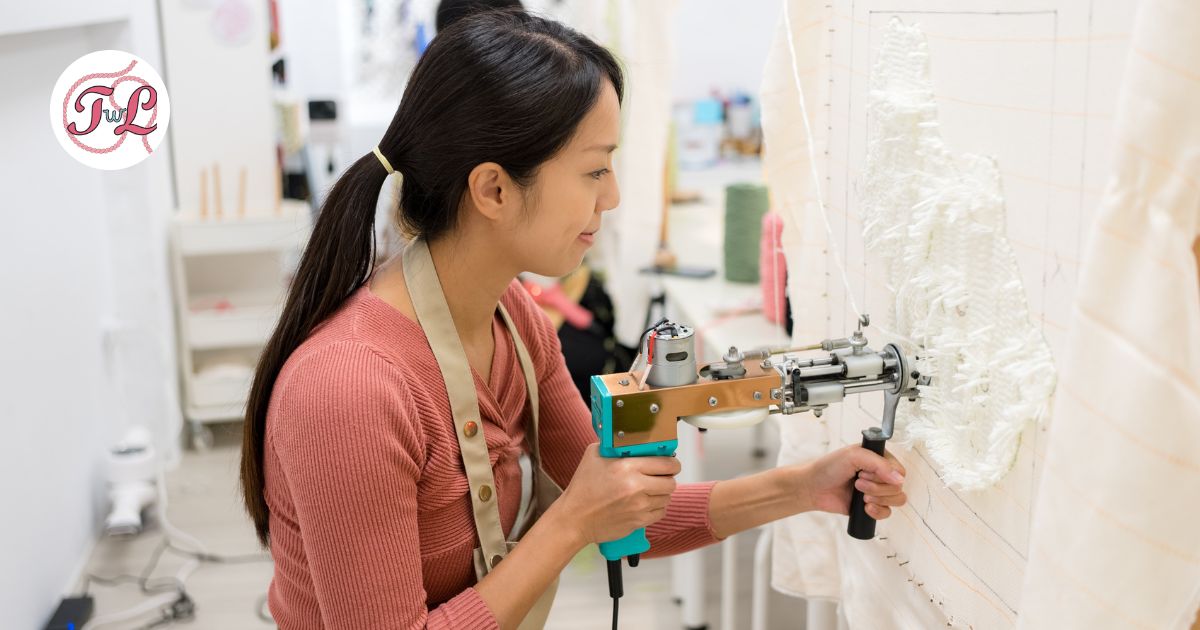
Stretch and Attach the Opposite Side Move to the opposite side of the frame. Pull the cloth taut and staple or tack it down, starting from the center and moving outward. The fabric should be tight enough to produce a drum-like sound when tapped.
Secure the Remaining Sides Repeat the process for the remaining sides, pulling the cloth tight as you go. Check for even tension across the entire surface to avoid wrinkles or sagging.
Check the Tension Once all sides are secured, check the tension of the cloth. Adjust as needed by removing and re-stapling any loose sections.
Trim Excess Fabric Use scissors to trim any excess fabric around the edges of the frame, leaving a clean and professional finish.
Tips for a Perfect Stretch
Use Clamps: If you’re working alone, clamps can help hold the fabric in place while you staple.
Work Gradually: Staple or tack in small sections to ensure even tension.
Recheck Often: Periodically check the tension as you work to ensure consistency.
Common Mistakes to Avoid
Overstretching: Pulling the fabric too tight can cause it to tear or distort the weave.
Uneven Tension: Failing to maintain consistent tension can lead to wrinkles or uneven tufting results.
Using the Wrong Cloth: Ensure you’re using a fabric specifically designed for tufting to avoid issues with grip and durability.
Conclusion
Properly attaching and stretching your tufting cloth to the frame is a foundational skill that sets the stage for successful tufting projects. By following these steps and tips, you’ll create a stable and reliable surface that makes your tufting experience smoother and more enjoyable. Happy tufting!
Firas
Firas is a co-founder of Tufted With Love Studio, a creative space dedicated to crafting unique, handcrafted rugs and textile art. The studio emphasizes meticulous after-tufting care to ensure each rug is ready for its new home.