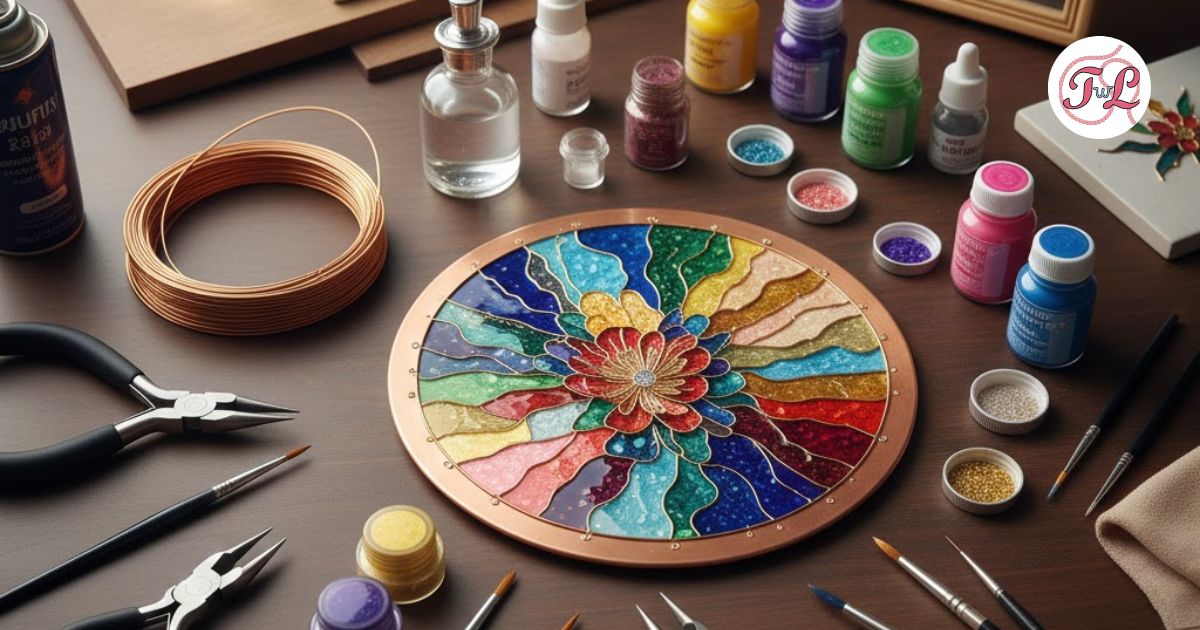
Cloisonné wire art is a craft where patience meets precision. Every line, curve, and shimmer tells a story created through thin metal wires and vibrant enamel or resin colors.
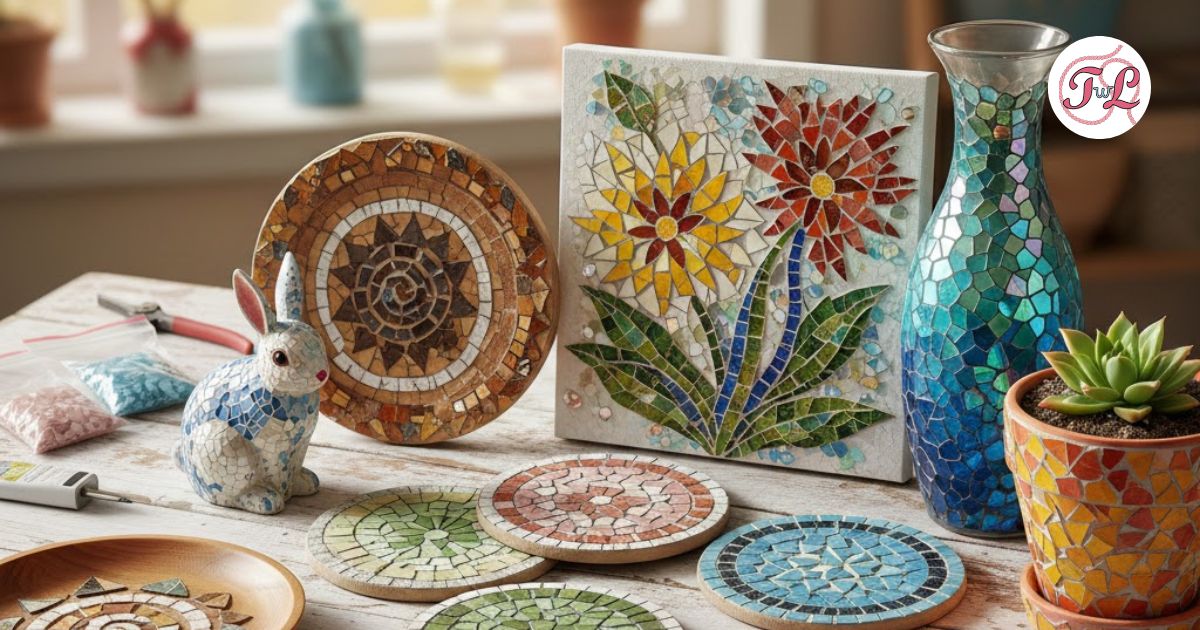
It is an ancient technique that once adorned jewelry and ornaments, but today it has found a new life in modern art, from framed pieces to decorative plates and wall panels. Whether you are learning it for the first time or simply curious about how it all comes together, understanding the tools and materials is the best place to begin.
Let’s walk through everything you will need to start your journey into the world of Cloisonné wire art.
Things you would need for Cloisonné Wire Art
1. The foundation: your base surface
Cloisonné begins with a solid base that supports both wire and color. Traditionally, artists used copper or bronze plates. Modern variations often include wooden panels, ceramic tiles, or thick canvas boards that make the process more approachable for beginners.
The key is to choose a surface that is smooth, sturdy, and can hold both adhesive and enamel without warping.
2. Fine metal wires: the heart of the art
The defining feature of Cloisonné is the delicate wirework that shapes your design. Thin copper or brass wires are most commonly used because they are easy to bend yet strong enough to hold form.
You will use these wires to outline your design, creating tiny compartments known as cloisons. Each section will later be filled with color, giving your artwork its signature look of intricate patterns bordered by shining lines.
A good beginner tip is to start with 0.3 to 0.5 millimeter copper wire, as it bends easily but keeps its shape once placed.
3. Tools to shape and place the wires
Creating clean, flowing wire outlines requires precision tools. Keep these essentials nearby:
- Fine-tip pliers to bend and curve your wires smoothly
- Wire cutters for trimming edges neatly
- Tweezers for setting delicate pieces in place
- A small awl or needle tool to adjust positioning before gluing
Patience is your most important tool here. The process is slow but deeply rewarding, as each curve defines the final design.
4. Adhesive or base coat
Before placing wires, the base surface needs a thin layer of adhesive. This holds the wires firmly while you work. Many artists use a clear epoxy resin or strong craft glue for this step.
Apply it evenly with a brush or dropper, and let it become slightly tacky before placing the wires. This ensures they grip well without sliding.
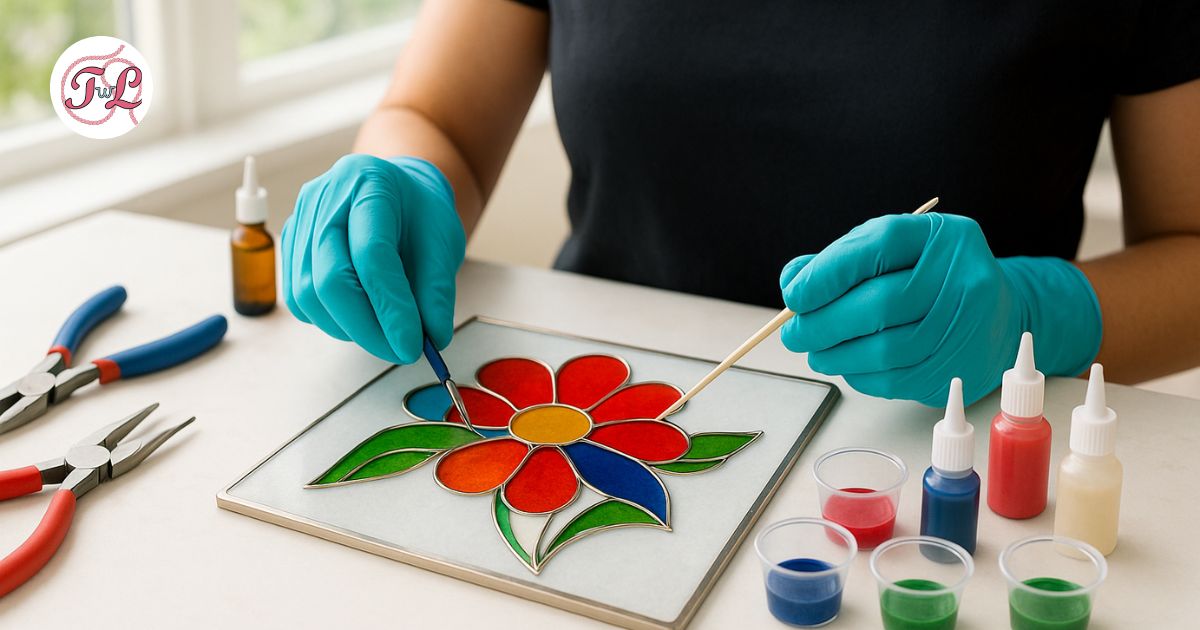
5. Color medium: enamel, resin, or paint
Once your wire outlines are fixed and dry, it’s time to add color, the soul of Cloisonné.
Traditional artists use powdered enamel, which is fired at high temperatures to create a glass-like finish. For beginners or hobby artists, liquid resin or acrylic paints are an easier and safer alternative that still captures the vivid, luminous effect.
Use droppers or fine brushes to fill each wire compartment carefully, making sure the color sits evenly. Layering shades can create stunning depth and dimension.
6. Finishing and protection
When the colors have set completely, the surface is polished gently to smooth out any uneven texture. A clear protective coat or varnish is then applied to seal the artwork and enhance its shine.
This step not only makes your piece durable but also brings the colors and metallic lines to life under light.
7. Optional touches
If you want to take your Cloisonné project further, consider experimenting with:
- Pearlescent pigments for a soft, luminous glow
- Fine glitter or metallic foils for accent areas
- Mixed media elements like gemstones, beads, or texture paste for modern fusion styles
These touches transform traditional Cloisonné into something truly personal and contemporary.
Bringing it all together
Cloisonné wire art is not about rushing toward perfection. It is about precision, balance, and patience, letting your hands and mind move together to form something timeless.
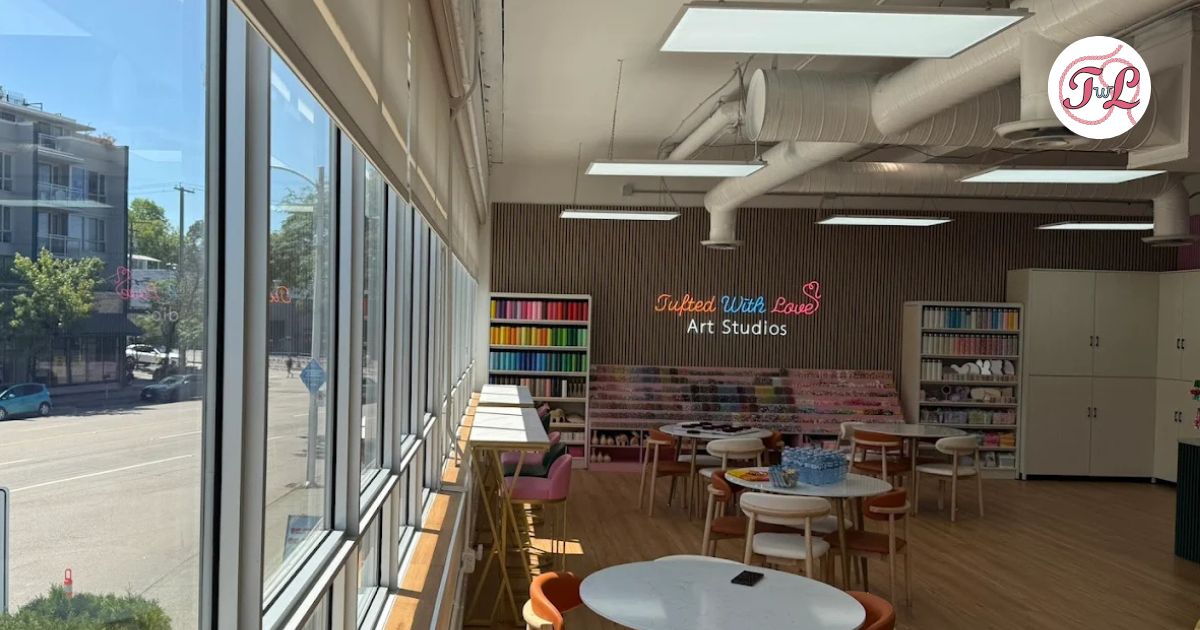
At Tufted With Love, we love introducing this art form to curious beginners. Our workshops include everything you need, from high-quality wires to guided instruction on bending, coloring, and finishing your piece.
If you are ready to explore an art form that combines focus with beauty, this might be the perfect next step in your creative journey.