Fluid bear painting/pouring is where fun meets flow! This art trend takes acrylic pouring to a new level, transforming cute bear figures into vibrant, one-of-a-kind pieces. Great for beginners, this guide walks you through how to do it at home, with tips and natural nods to our Tufted With Love workshops.
What Is a Fluid Bear?
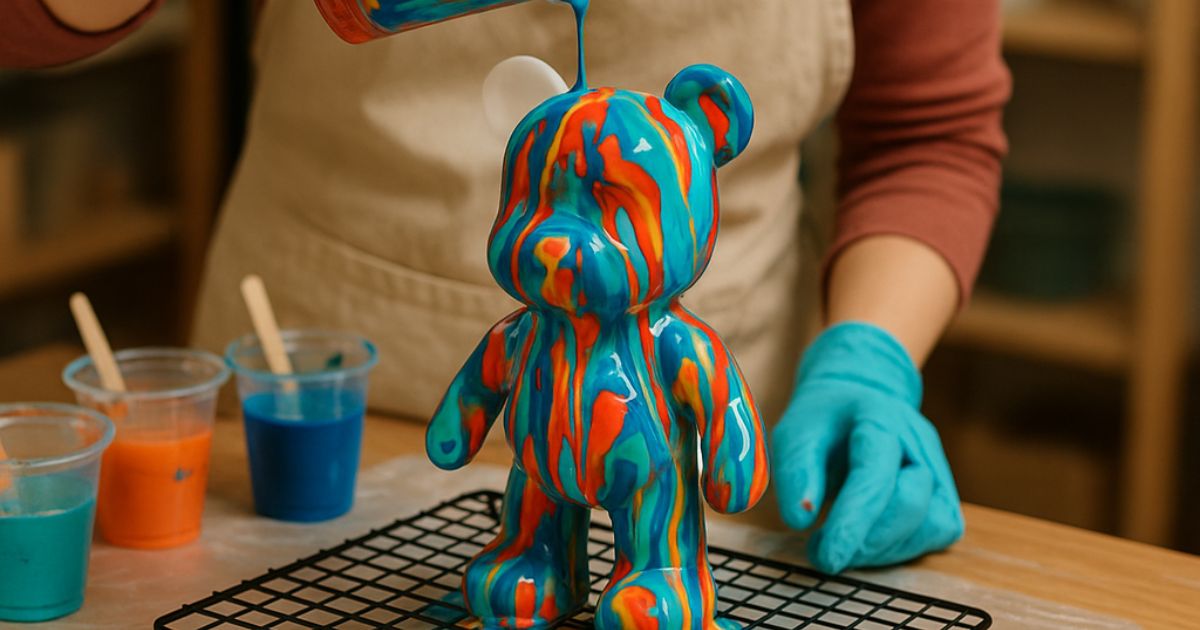
A fluid bear is a 3D bear figurine decorated with poured acrylic paints. As the paint flows and blends, it creates mesmerizing marbled patterns. Each bear becomes a unique piece of abstract art. It’s playful, therapeutic, and perfect for anyone new to painting.
Materials You’ll Need
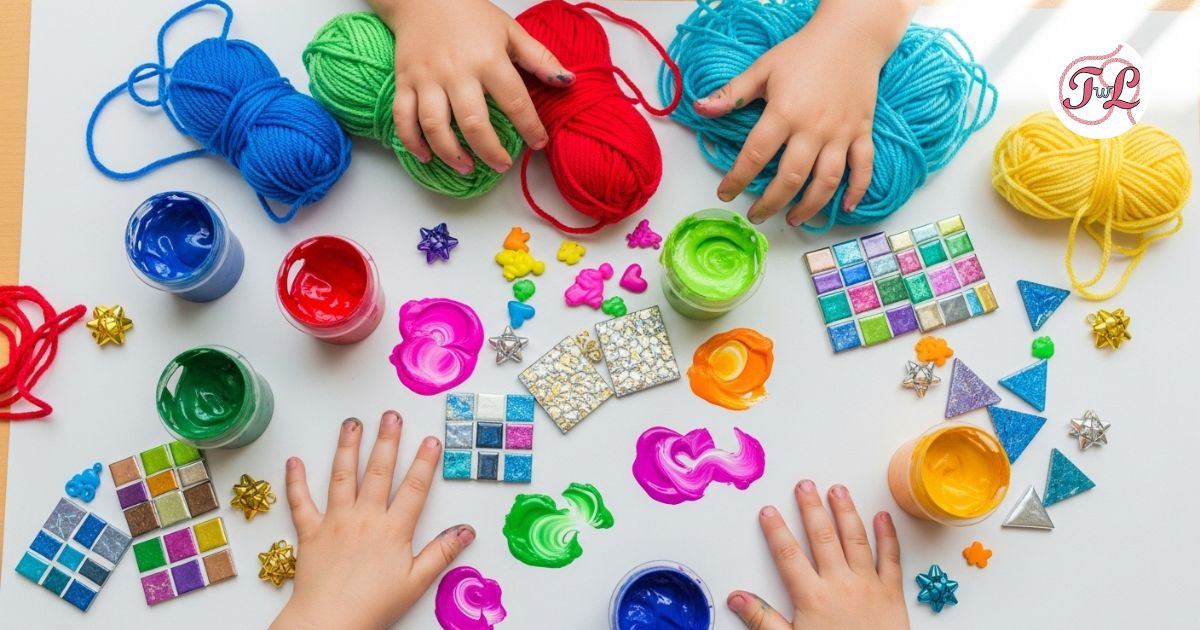
You won’t need a full art studio, just a few basics:
- Bear figurine (vinyl or plastic, ideally white)
- 3 to 5 fluid acrylic paints (your choice of colors)
- Pouring cup
- Stir sticks or spoons
- Raised platform (like a rack or overturned cup)
- Gloves and an apron
- Table cover or protective sheet
- Paintbrush (for detail touch-ups)
- Optional: clear varnish for sealing
Tip: Our workshop kits at Tufted With Love include all of this, so you can just show up and pour.
Step-by-Step Tutorial
1. Prep Your Space
Cover your workspace with plastic or newspaper. Put on gloves and set your bear on a raised platform. Make sure the bear is clean and dry.
2. Pour Your Paints
Layer your chosen paints in a single cup, don’t stir. Just stack the colors and let the pour do the mixing. Add a swirl if you’d like a little more randomness.
3. Start Pouring
Slowly pour the paint over your bear, starting from the head. Let gravity guide the flow. Tilt the bear gently to help paint move into corners or gaps.
4. Fine-Tune Details
Use a paintbrush or toothpick to fix bare spots or add small swirls. This is where you can make it your own.
5. Let It Dry
Place your bear in a dust-free spot. Leave it untouched for 24–48 hours so the paint can cure completely.
6. Optional: Seal Your Bear
Once fully dry, spray or brush on a clear varnish for added gloss and durability. Always test your sealant on a small area first.
Tips for Best Results
- Limit your palette to 3–4 colors to avoid muddiness
- Pour slowly for better flow and blending
- Add metallics or glitter for texture and shine
- Keep your space clean and organized for easy workflow
Common Mistakes to Avoid
- Using too many colors results in a dull finish
- Overmixing paint in the cup
- Rushing the drying process
- Skipping surface prep
- Not protecting the workspace (you’ll thank yourself later)
Final Thoughts
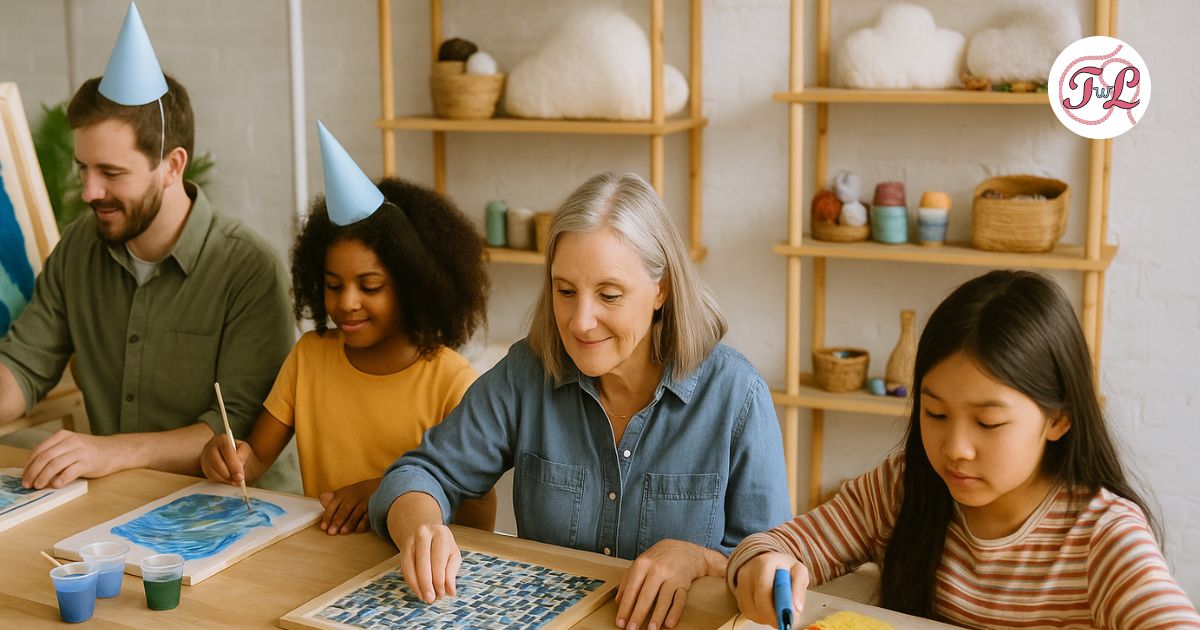
Fluid bear painting is a joyful, low-pressure craft. It’s less about perfection and more about playing with color and letting the process guide you.
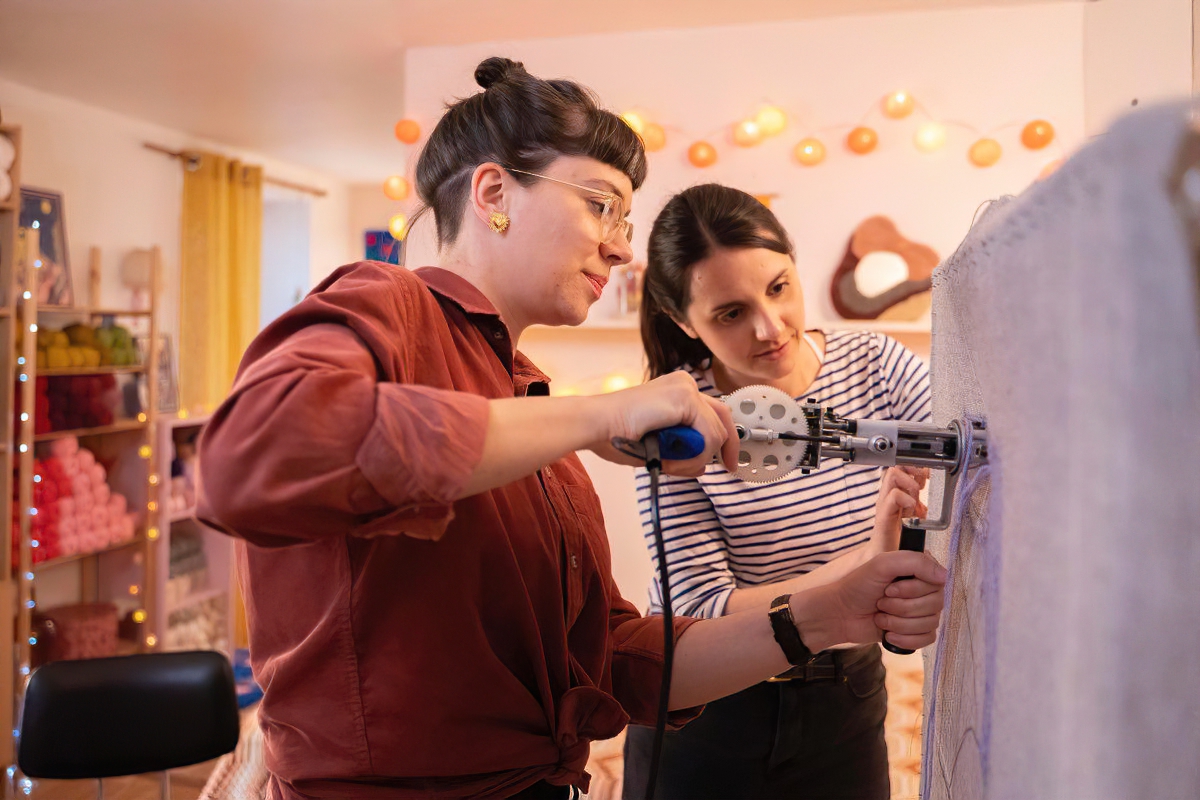
If you’d rather try this with a bit of guidance, join one of our Tufted With Love workshops in Vancouver. We’ve got the bears, the paints, and the clean-up handled, you just bring the creativity.
Whether you’re gifting your creation or keeping it for yourself, every bear you paint becomes a vibrant, totally-you piece of art. Let the colors flow!